Working with a die-cutter is fascinating for me, but there is a learning curve to climb about the usual ceramic materials and design issues, and then the cutter you use, the material you choose to cut, and the design you want to cut out in relation to how the die-cutter works, the programs to create vector images and/or scan art, and how you plan to use the resulting image.

My initial thought was to cut paper for slip stencils on leather-hard clay. I’ve used newspaper for this often when cutting out shapes with scissors or an Exacto knife. If you want to be REALLY inspired about what you can do with simple tools in stencil-making, check out Chinese paper cuts.
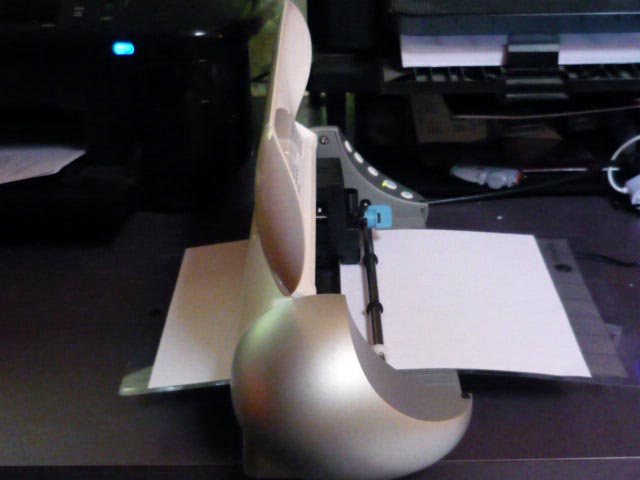
The die-cutters use a plastic mat with an adhesive surface on the top to hold your media (paper, vinyl, cardstock, etc.) stable while the cutting happens. Copy paper sticks well to this. It cut with a few tears at the corners, although the blade was new. Might need to cut slower. There are a lot of solutions on the Make-the-Cut forum, which looks like a good place for die-cutter problem-solving. The mat moves through the machine and out the back in a straight path.

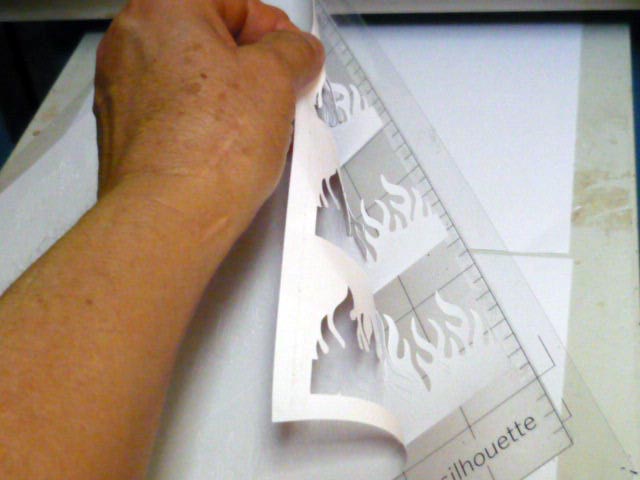
The next issue: you have to peel the paper off the adhesive mat. This causes thin paper to curl up. You can flatten out in a file folder and put a book on top to see if it will flatten out. Cardstock is a bit thicker and won’t conform to a curved surface as well as thin paper, but it’s much easier to cut and much, much easier to peel off. There are a lot of other media to try: plastics, Tyvek, vinyl, etc. I have a roll of Tyvek on order from Material Concepts. Their excess inventory offerings are a better price than the regular stuck. Tyvek is a re-usable, tear-resistant material you’ve probably seen as white mailing envelopes, and is fairly flexible. I hear with a die-cutter, Tyvek is best cut with a fabric blade. I’ve also read that the fabric blade isn’t different than the regular blade, just stays sharper if used ONLY for fabric, which helps it cut better. Cutting paper dulls the blade over time.
- Peeling cut cardstock off the adhesive mat
The cutter does things that may be hard to do by hand, and will cheerfully duplicate whatever file you have to cut. The place where is ceases to be wonderfully time-saving is when you have to “weed” your cut – i.e. peel off the ground and then the images cut from the adhesive mat. Depending on how intricate your cuts are, this can be rather fiddly and time-consuming. I just bought some transparent plastic file folders to store my cuts in so they’ll be flat and I can find them.
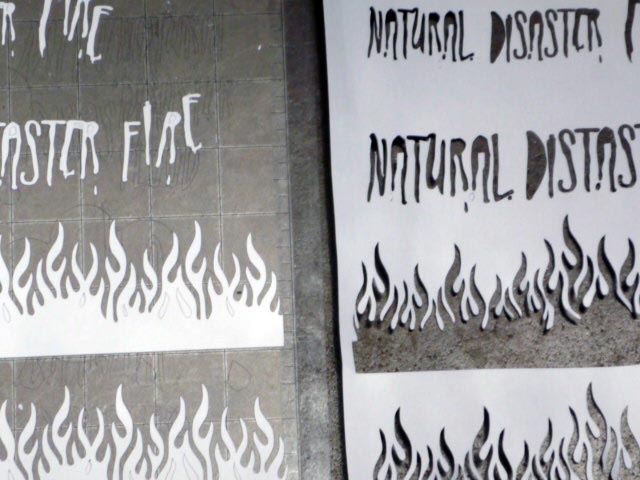
Although I plan to do stencils for slip on leatherhard clay, I didn’t have any of that going on in my studio right now. Trying to finish up some majolica work. So, I cut my stencils from cardstock into individual words, and held it down letter-by-letter to use as a stencil for a specific font and majolica decorating color applied with a brush. Not really precise, but this is all research. Pictures of this work next time.
The Silhouette Starter Kit for Vinyl is not worth buying. You do get black, white, green, and pink vinyl (9″ x 24″) and transfer paper, a hook tool to help weeding cuts. All useful. The idea/instruction book is very small, very limited, and ditto the “instructional” DVD. In my opinion, both worthless. One quick video of cutting, weeding, and using transfer paper to move a design. No talk. No other ideas or discussion of any problems or methods. The Silhouette “scraper” could be easily replaced by a retired Starbucks or credit card. You do get a pink patterned cardboard box in which to store your supplies. Skip the starter kit and just buy the Silhouette vinyl online – I’ve seen it on sale – if you want it. As a teacher, my perspective is that the Silhouette people do a poor job of education on their product.
Image below of the ground paper peeled off the mat, and the resulting shapes left on the mat. Both with be useful with slip – the outline as a stencil to paint in, and the shapes as friskette to reserve the ground color.

Hi Linda
I use frosted mylar in my die cutter and works great once you get the setting right (I have a different brand than you). great thing about the mylar is that it can be washed and reused (I let the slip dry and then it just dissolves off in warm water) many many times, and is fairly flexible for curved surfaces (depending on size and solidity of the image).
gone are the days of cutting each out from newsprint by hand! woohoo!
Thanks for the note, Linda. The font is a “handwriting” type font that is more casual, but using the font gives a related look to the text and a uniformity of size and attitude. I should be firing the work on which I used these stencils in the next couple of days and will post pictures. I’ve always loved traditional Chinese papercuts. The die-cutter lets you get as complex as you care to with the cuts.
thanks for the description of using this technique, amazing the machine cuts such intricate designs; I like how the words are naturally written rather than the die letter or numbers that are pressed into clay.