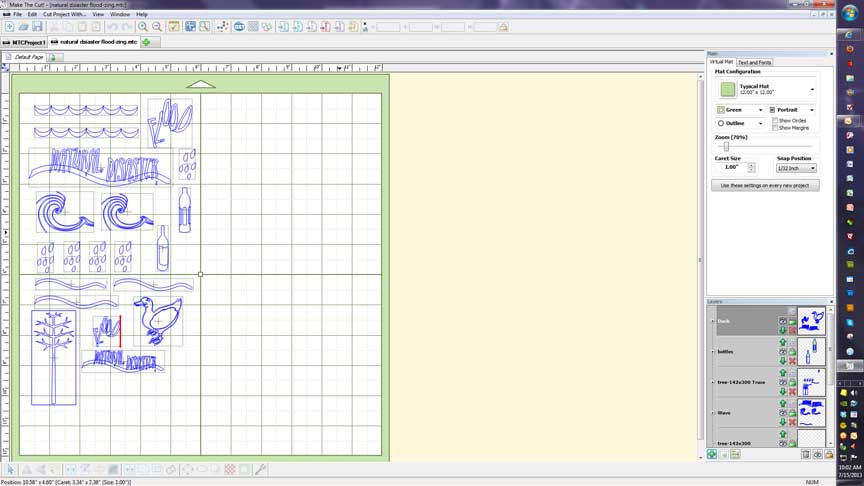
After working with the setup and practice pen, and checking out helpful online videos and reading parts of the very complete Zing die-cutter and Make the Cut software combined manual online (available in an interactive online version here, or a downloadable PDF version here), I set up a page of images from various edited clipart sources for an upcoming Natural Disaster cup show at Crimson Laurel. Chad Youngbluth at Accugraphics, the company that sells the Zing, suggested that the regular red blade would be fine for cutting Tyvek. The page has many complex anchors (points) to cut, and I set it up at slow (8), double pass due to the fiber-y nature or Tyvek (10G weight – light), and an average force of 74, blade offset .35. It took a l-o-n-g time to cut, but cut exceedingly well. The Tyvek was stuck down to the Zing sticky mat for cutting.
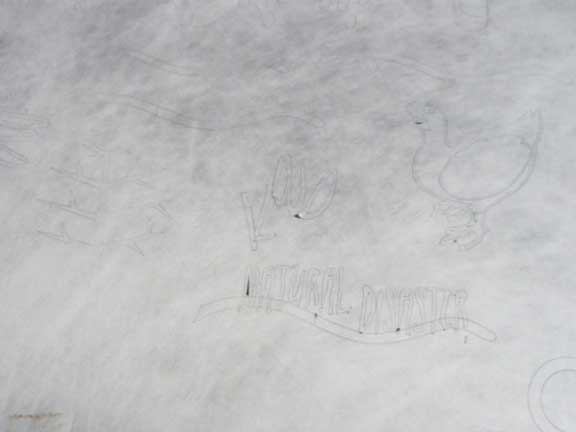
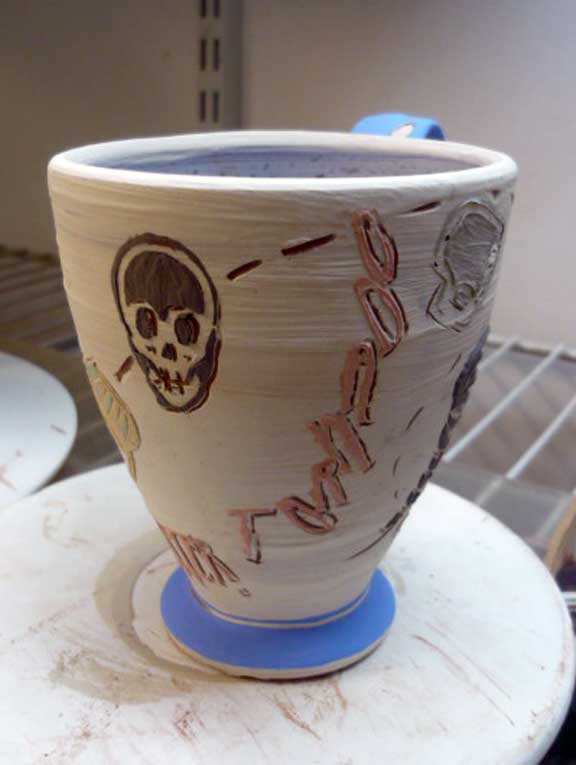
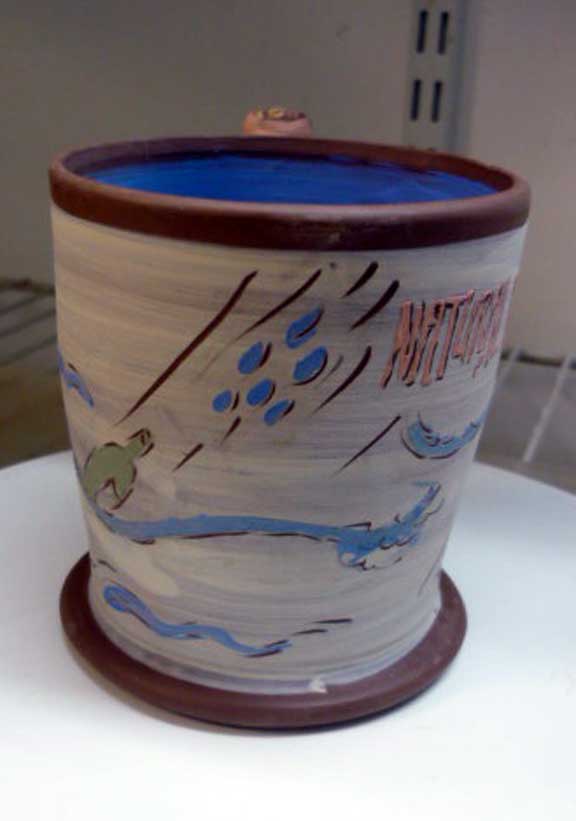
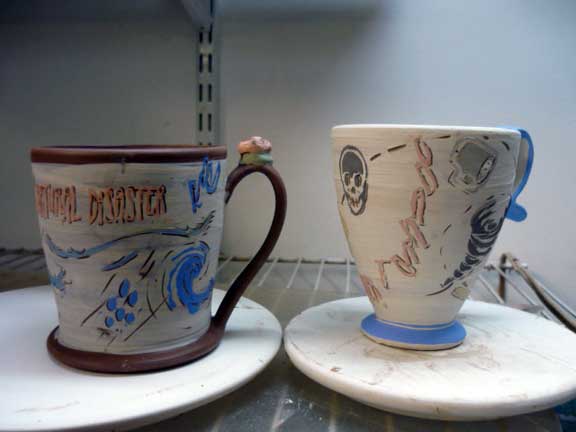
Using Tyvek stencils of this weight on clay is more difficult than using wet paper stencils on leatherhard ware. The back of the non-porous Tyvek has to be wetted, and the clay underneath damp. I don’t think this would work on late-leatherhard ware – too dry to stick. The cups were trimmed, handles put on, and slipped with a white base slip (recipe for slip on the Majolica and Lowfire handout on my web site Handouts page.) The cone-shaped Natural Disaster: Tornado cup was dipped in slip that proved to be too thick and needed brushing out a bit. The Natural Disaster: Flood cup had white slip brushed on as a ground. With bad weather conditions as a theme, the atmospheric thick-thin of brushed slip works with the idea. With slip, it’s hard to tell how uniform the coverage is until it’s glazed. Even thin slip looks fairly opaque before glazing. It might be easier to do the surface first THEN put on the handle. Images from the project below. Going in the bisque today.
Linda and others, I have tons of photos showing my digital cuts of the fun foam and the impressions they make in clay. I have learned to put packing tape over the foam while still on the mat, then pulling the whole thing off–then teasing out the positive image. The packing tape hold all the loose bits from the negative and, in my opinion, makes the most interesting raised designs like bas relief on the clay. But I have used both the positive and negative pieces. All my experiment photos can be seen here http://s2.photobucket.com/user/paulinepdm/library/Cameo%20Silhouette%20Digital%20Cutting
The Fun Foam I use is from Dollar Tree and there is a photo of the packaging on my blog. I also can cut stencils from the Silhouette product called clear sticker paper (designed mostly for printable clear labels, but would make stencils too. ) No end to the fun, but I appreciate how busy you must be. Just thought I would share some of the fun experiences I have been having. I don’t have experience with the Zing, but it must be able to cut thicker things, maybe even the regular thickness of fun foam, which the Cameo won’t cut (I think?) My Cameo did cut the thin sheet of Tyvek also, but I like the fun foam better, since it doesn’t stick too much to the clay, just enough actually. I look forward to watching what you do with it. Thanks for all you have done for our creative community.
Hey Linda, I have learned so much from you and all your clay tips –can’t believe you are into the digital cutter as well. I am on my second cutter (Cameo) and have used it to cut things out of cardstock and then make silkscreens using the cuts for my clay. The cardstock is dense so UV can’t pass through. I used to just print on acetate to make the screens, but my printer ink was not always dark enough, so that’s how I got onto the cutting machine. But now, I am cutting thin fun foam with it also. You might be interested in some of my experiments in the last two days. Here:
paulinesstuff.blogspot.com I also was interested in cutting Tyvek but I love, love, love this fun foam, cheap too. Your machine is much more heavy duty, so I am sure you will be easily able to cut the foam if you have a desire/or need to, or if you just want to have fun.
Thanks, Pauline, for dropping a note. There are a number of people getting interested in die cutters. I’ll check out your adventures and will have to look for fun foam at the crafts store. I just got some samples of different weights of Tyvek, and need to try those. Kip O’Krongley has been laminating 2 sheets of paper together to cut stencils for clay work. One sheet curls badly when released from the mat and also tends to tear. She’s been using re-positionable adhesive – like post-it notes adhesive – and then peeling apart after cutting. There is so much to know about what can be done w/a cutter. I have big deadlines at the moment, and not a lot of time to wander, but I can’t wait to get back to it and write up a few things.